四、微服务架构编码构建——cloud-provider-payment8001微服务提供者支付Module
四、微服务架构编码构建—cloud-provider-payment8001微服务提供者支付Module
1、微服务工程构建步骤
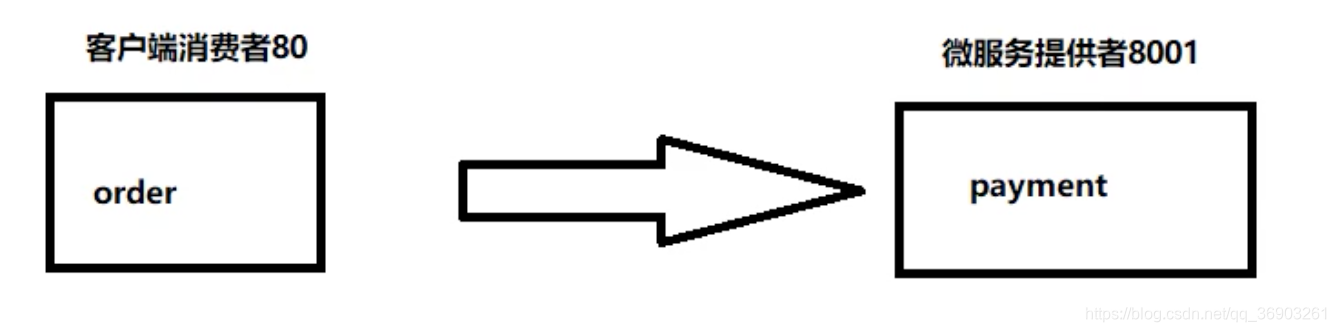
【1】消费者-提供者调用关系
【2】服务提供者创建步骤
- 建moudle
- 改pom
- 写yml
- 主启动
- 业务类
- 测试
2、微服务提供者支付moudle模块cloud-provider-payment8001
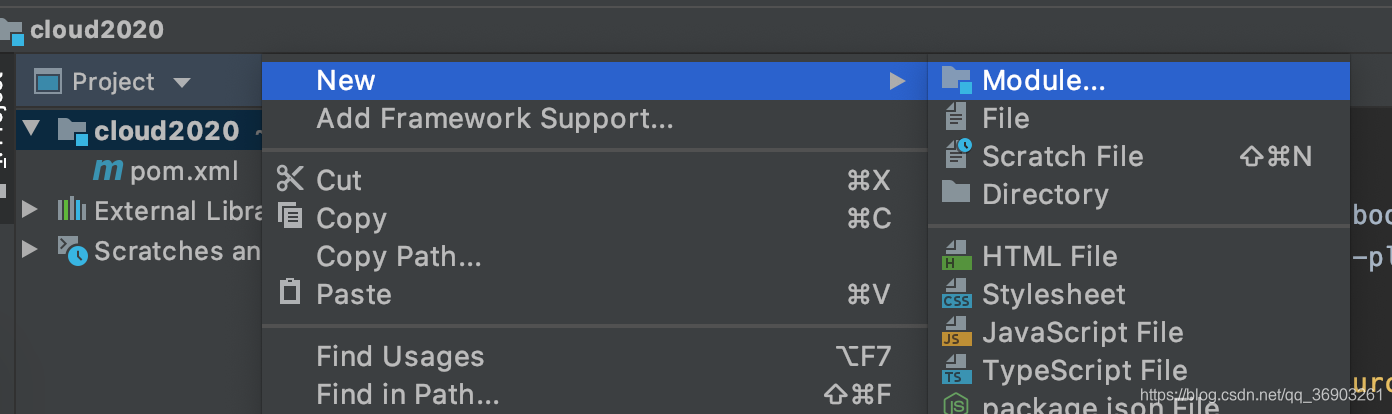
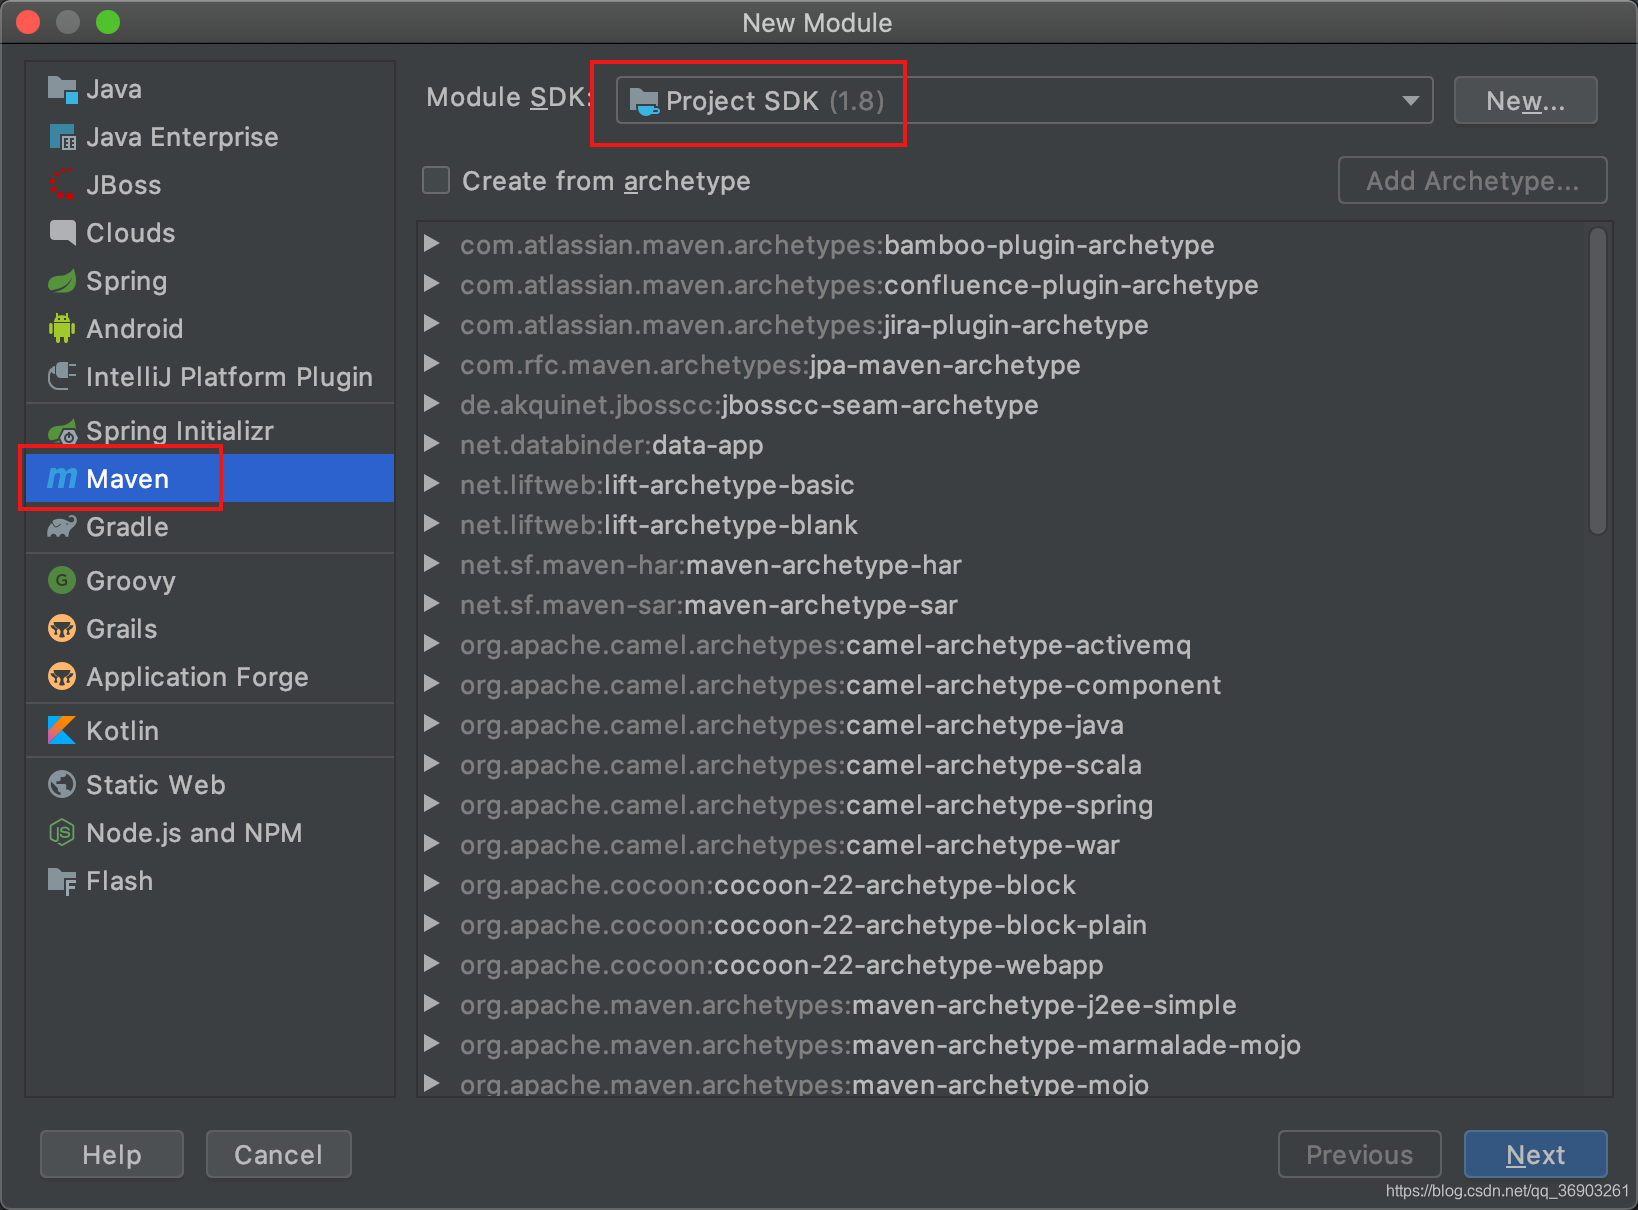
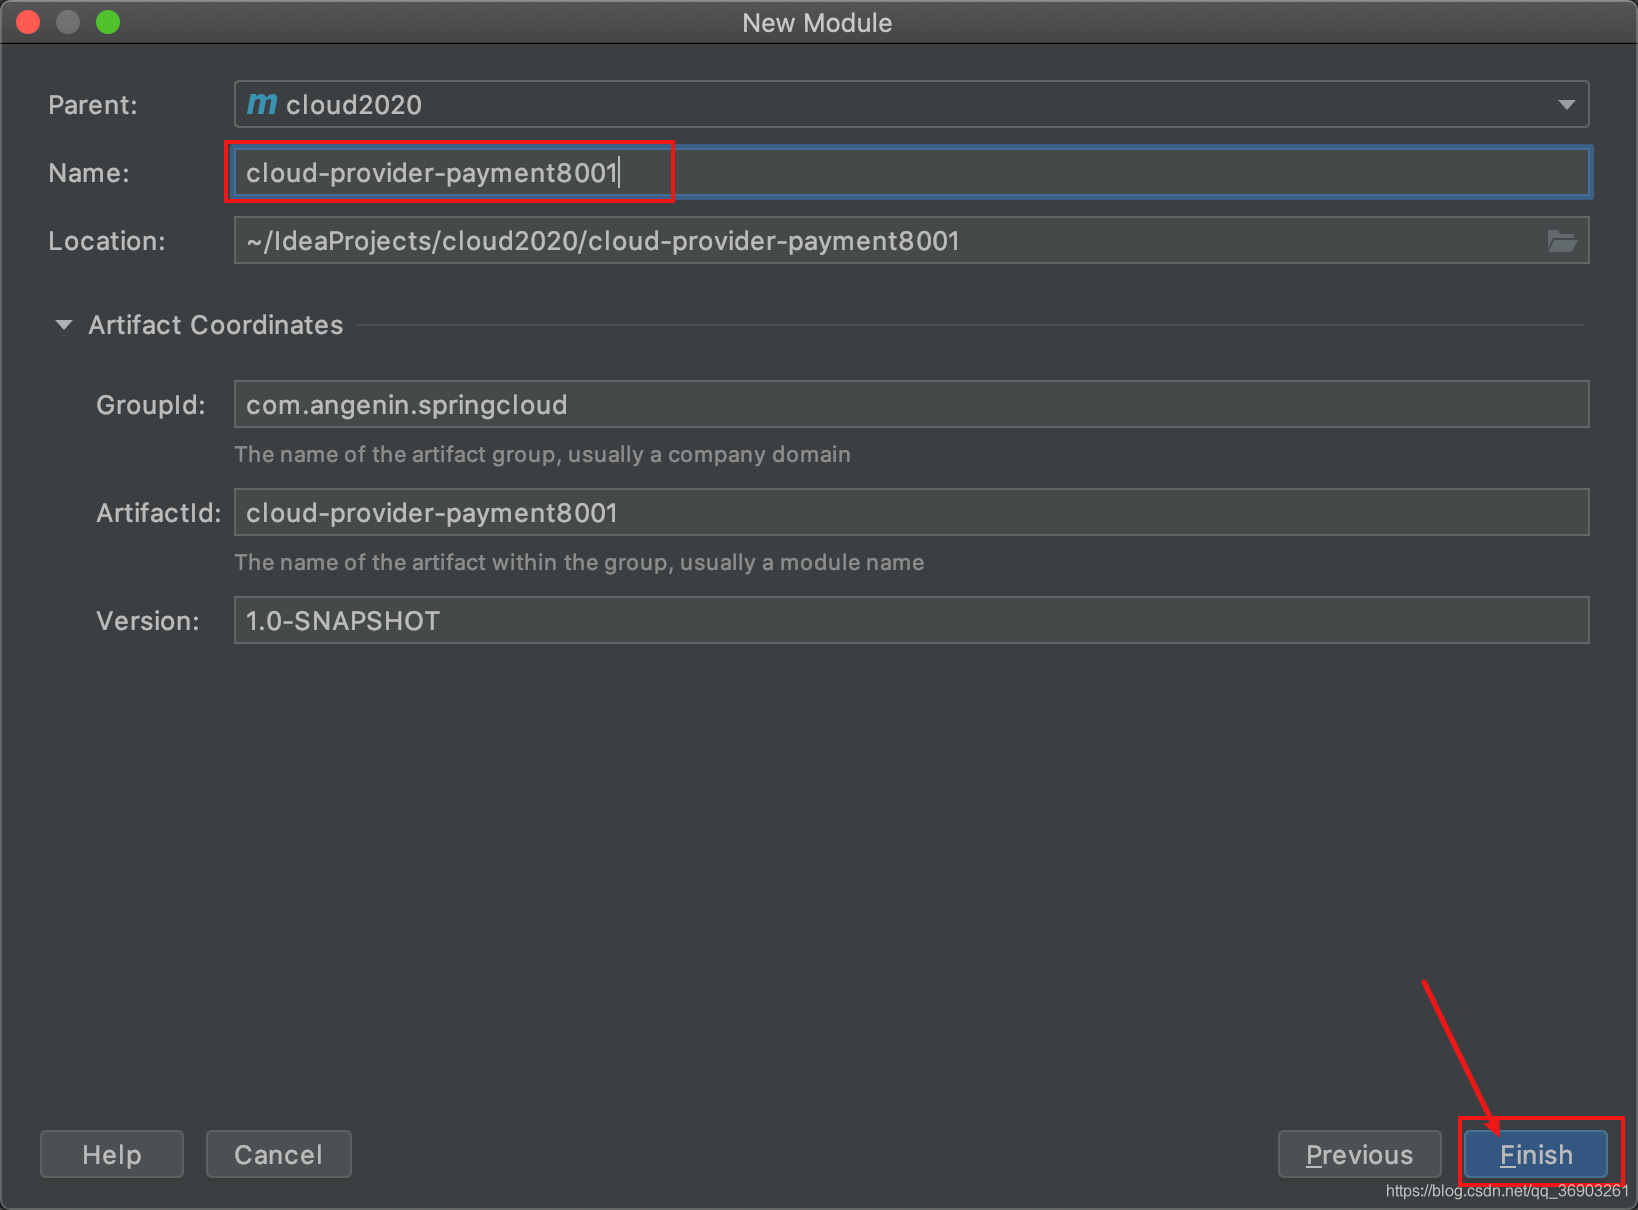
【1】新建模块(建moudle)
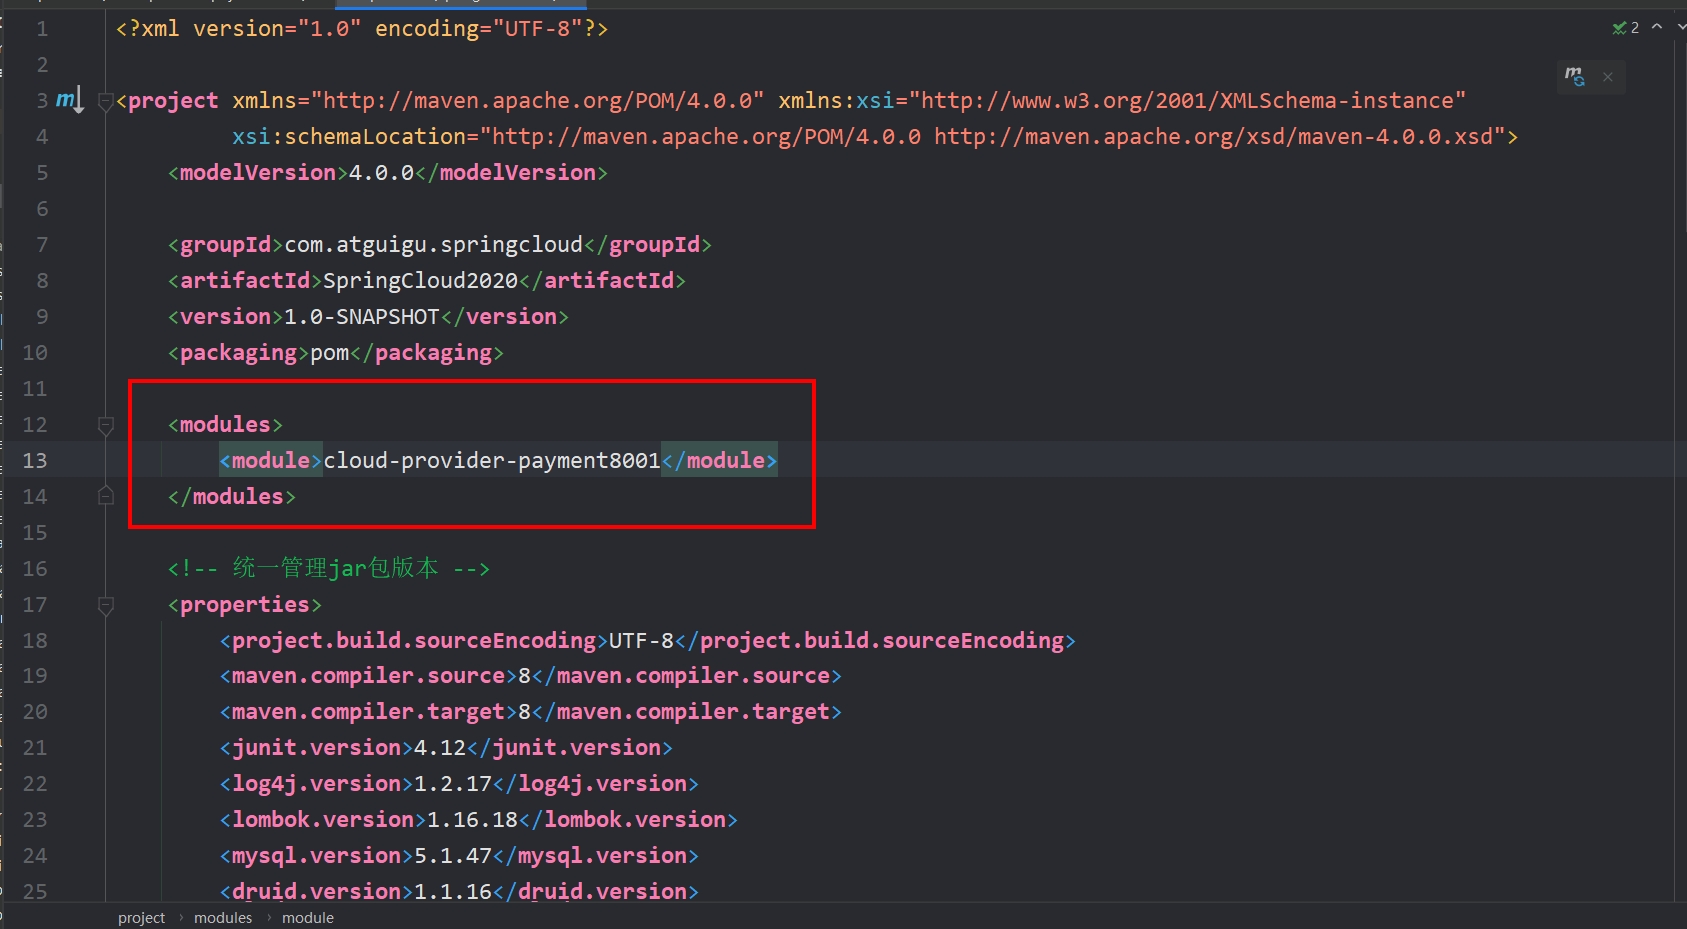
【2】看一下父项目的pom文件,多了一项。说明父子工程已经关联上了
【3】cloud-provider-payment8001的pom文件添加内容(改pom)
1 |
|
【4】在resources目录下新建application.yml配置文件(写yml)
1 | # 微服务建议一定要写服务端口号和微服务名称 |
【5】在java包下创建主启动类com.angenin.springcloud.PaymentMain8001(主启动)
1 |
|
【6】业务类
建表SQL
1 | CREATE TABLE `payment`( |
entities:在springcloud包下新建实体类entities.Payment
1 | //这三个注解是lombok的,除了导入依赖,idea还需要安装插件(具体操作问度娘) |
entities:在entities包下新建CommonResult(json封装体,传给前端的)
1 | //返回给前端的通用json数据串 |
dao:在springcloud包下新建dao.PaymentDao接口
1 |
|
mapper:在resources目录下新建mapper目录,然后新建PaymentMapper.xml
1 |
|
service:在springcloud包下新建service.PaymentService接口
1 | public interface PaymentService { |
service:在service包下新建impl.PaymentServiceImpl实现类
1 |
|
controller:在springcloud包下新建controller.PaymentController
1 |
|
【7】测试:启动项目

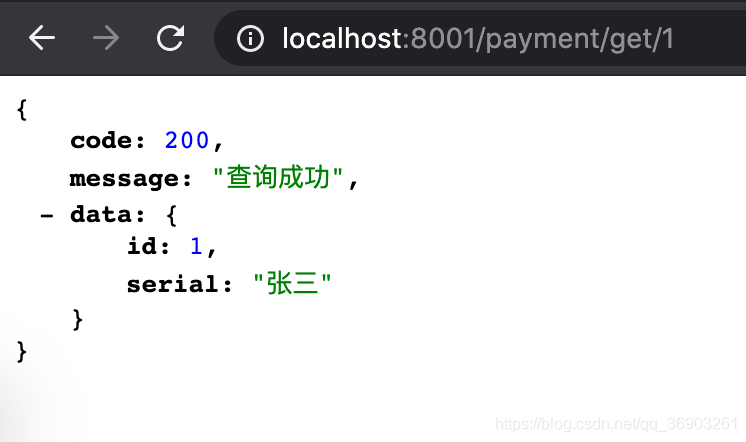
【8】浏览器输入http://localhost:8001/payment/get/1,查询成功
【9】因为浏览器一般不支持直接发送post请求,所以,需要使用工具进行测试。(我这里用的是Postman)重新测试查询,没问题

【10】输入http://localhost:8001/payment/create发送post请求,往数据库中插入一条数据,需要把数据写到body中。

3、热部署Devtools(只能在开发阶段使用,但我更推荐使用JRebel,IDEA中一种不需要重启服务,可以自动编译运行的插件)
【1】在cloud-provider-payment8001项目中添加热部署依赖(已经在导入了,所以看看就行了,记一下步骤)
1 | <!--热部署--> |
【2】添加一个插件到父类总工程的pom.xml里(这一步之前也已经做了)
1 | <build> |
【3】开启自动编译的选项


【4】热注册开启:组合键Shift+Ctrl+Alt+/(Mac系统的把Ctrl换成command键),选中Registry…


【5】重启IDEA
开完之后感觉有点卡,虽然能自动部署,但是代码提示变慢了,等以后换了电脑再玩自动热部署,现在就不开了。
把第四步打上的勾去掉(原本打上的就不用去掉了),然后重启idea就可以了。
不使用自动热部署,也可以使用热部署,按这个绿色的锤子,重新启动,只编译改了的文件,所以比重启快一些。

本博客所有文章除特别声明外,均采用 CC BY-NC-SA 4.0 许可协议。转载请注明来自 KAZAMAのBlog!
 wechat
- alipay